An Illustrated Photoshop Tutorial on Making a Smooth Content Frame
Written by: Dmitry Fadeev
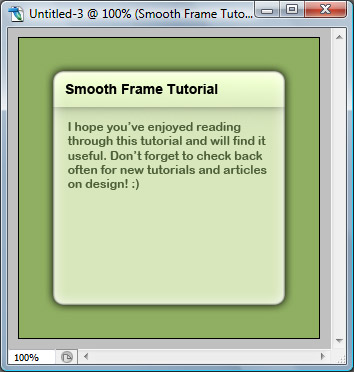
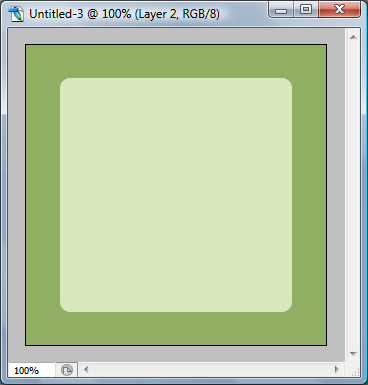
This tutorial will guide you through the steps on making a rounded frame using Photoshop, which can be useful in web design to hold content. I assume you have little to know knowledge of Photoshop for this tutorial, so anyone can attempt this simple design process. In the end you will have something which looks like this:
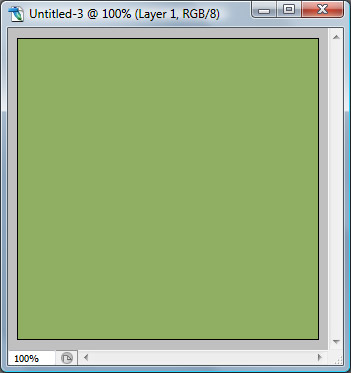
Ok, let's get to it. We start off by creating a new virtual canvas to work on. Press CTRL+N (CMD+N on OS X) to open the new file menu. Fill in the details, however if you're new to Photoshop you should only really worry about the width and height. I’ll make mine small so to allow for simpler screenshots, so I’ll have a 300×300 pixel canvas. You can of course make yours as big as you'd like. Click OK to create the new image. On the left hand side you have your control tools. First, see the two color squares? This is the active color selection. Click on the top one and select a color that you want for the background. Then click the paint bucket (fill) tool and click inside your new image. This will fill in the background color. Here’s what mine looks like now:
Ok, now we’ll add a new layer to put our new content frame on. Layers allow us to work on different elements of the picture so that we can edit each layer separately without disturbing the rest of the piece. To make a new layer press SHIFT+CTRL+N (SHIFT+CMD+N on OS X) to open a new layer creation window which looks like this:
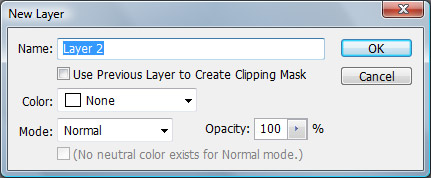
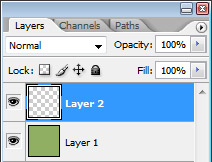
Click OK to make the new layer. At the right hand side of the screen you should see the layer box, which will now display the new layer above our original layer:
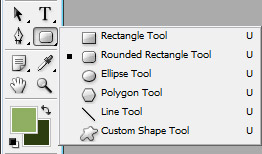
Ok—let’s add a smooth, rounded corners, rectangle on top. Right click on the rectangle tool on the selection of tools on the left hand side. This will open up a selection of rectangle specific tools. Click on ‘Rounded rectangle’ (you should be able to see it straight away by its icon):
One more thing to do before we draw the rectangle is to adjust the radius of the rounded corners. If you look at the top of the screen, you should be able to see the rectangle tool specific settings. One of these is the edge radius. Click there and type a value you want. This value is in pixels so will have to be around 10 for a nice corner.

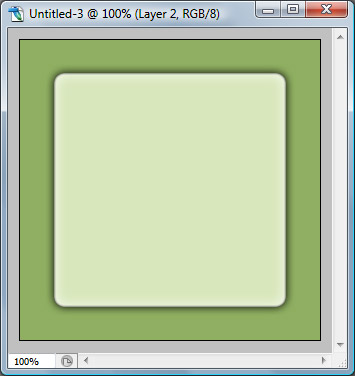
Ok…we’re set to go. Click on the top color square at the bottom of the left hand side tools again and select a new color for the rectangle—I’ll choose a light green. Click and drag an area on your image to make the new rectangle. You will notice the corners will automatically be rounded off by 10 pixel radius and it will be placed on a new layer we’ve created.
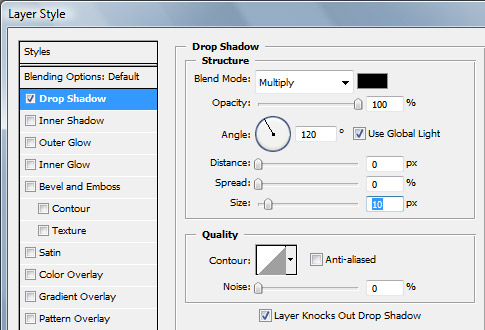
In the top menu, click ‘Layer’, then move your mouse over ‘Layer Style’ menu group to expand it and then click on ‘Drop Shadow’. This will open up the layer style window, from which we can apply different effects to our new layer, such as the drop shadow that we’ve selected. Adjust the drop shadow settings to something similar as to what I have below.
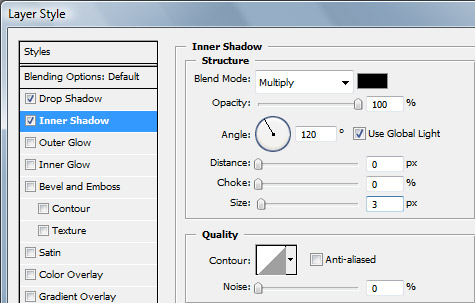
Right…don’t close the window yet - instead check the box next to ‘Inner Shadow’ on the left. You will now activate the inner shadow layer style as well. Change the inner shadow settings as follows:
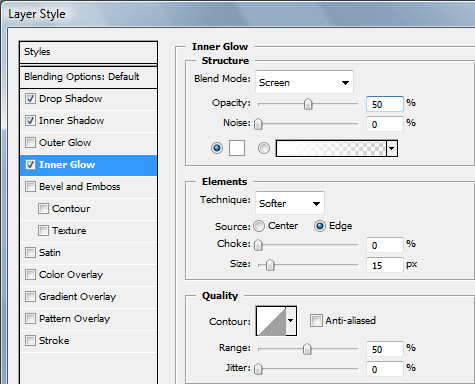
There is one more setting that I would like to add, so check the box next to ‘Inner Glow’. Again, adjust the settings like the screenshot below:
Click OK. And there you have it folks; a nice, smooth, rounded corner rectangle for use in website content frames and such. Here’s the result:
To summarize: what we’ve done here is first add a drop shadow, we then added an inner shadow to make the rectangle edges smoother, and finally added a tiny bit of glow to give the edges more prominence and shape. Of course there are many other ways of doing things like that, and you can of course play around with different settings, but this is how you make the basic rounded content frame in Photoshop. Hope you found this useful.